The Ultimate Guide to Image Optimization for SEO Success
Learn the steps to achieve SEO success through effective image optimization. Discover how to optimize your images for better search engine rankings.
Did you know that visual content makes up 14% of a total webpage's weight according to HTTP Archive data? This surprising fact reveals why your website's pictures are more than just decoration—they're performance-critical elements that directly impact your search rankings.
image optimization
When visuals load slowly, visitors leave quickly. Studies show people expect websites to load in two seconds or less. Unoptimized media files often cause the poor performance that drives users away.
This comprehensive guide walks you through everything needed to master visual content enhancement. You'll discover techniques that can improve page loading speed by over 50%. Faster loading times mean better search engine positions and happier visitors.
We cover the complete spectrum from basic file format selection to advanced automation methods. You'll learn how to balance visual quality with performance. Your pictures will look stunning while loading quickly across all devices.
Whether you manage an ecommerce store, blog, or corporate site, mastering these techniques creates significant improvements. You'll reduce bandwidth costs while delivering a superior user experience that keeps people engaged.
Introduction to Image Optimization
Visual media files are essential components of modern web design. They help explain complex ideas, break up long text sections, and showcase your work. However, large files can slow everything down.
Understanding the Basics and Benefits
At its core, this process is about reducing a file's data footprint while preserving its visual integrity. You can tackle this during export from editing software or later on your site using automated tools.
The primary goal is to deliver content to your visitors faster. Nobody likes to wait for a slow page to load. Properly handled visuals keep people engaged and improve their overall experience.
Unoptimized media directly hurts your site's performance. They lead to slower load times, which can increase bounce rates. They also consume more server resources, potentially raising your hosting costs.
The benefits extend far beyond speed. You gain better search engine rankings, lower bandwidth usage, and smoother site management. Achieving the perfect balance between stunning quality and quick performance is the ultimate win.
Why Image Optimization Matters for SEO
The way you handle your website's visual assets directly influences both user satisfaction and search engine rankings. These elements serve as critical components that bridge technical performance with visitor engagement.
Impact on Page Speed and User Experience
Your site's loading time directly affects how visitors perceive your content. People expect web pages to load within two seconds. When visuals slow this process, bounce rates increase dramatically.
Fast-loading media creates positive user signals that search engines notice. Longer session durations and lower bounce rates indicate quality content. These metrics help improve your overall site performance.
Influence on Search Rankings
Google uses page speed as a confirmed ranking factor. Since visual files are often the largest elements on your pages, they directly impact your search positions. Proper optimization gives you a competitive edge.
Search engines allocate limited crawl budgets to each website. Slow-loading content means fewer pages get indexed. This can leave important content undiscovered in search results.
Visual search represents 36.7% of all Google queries. Well-optimized media can rank in image search, driving qualified traffic to your website. This builds brand visibility and engagement.
Image Optimization Fundamentals: Definitions and Terminology
Before diving into specific techniques, you need to grasp the fundamental terminology that governs how files are processed. Understanding these concepts will help you make informed decisions about your visual content.
Compression methods fall into two main categories. Lossy compression reduces file size by removing data the human eye typically misses. This approach can shrink files by 50-80% but may affect visual quality if overused.
Lossless compression preserves all original data while still reducing file size. The reduction is more modest, usually 10-30%, but quality remains perfect. Each method serves different purposes depending on your needs.
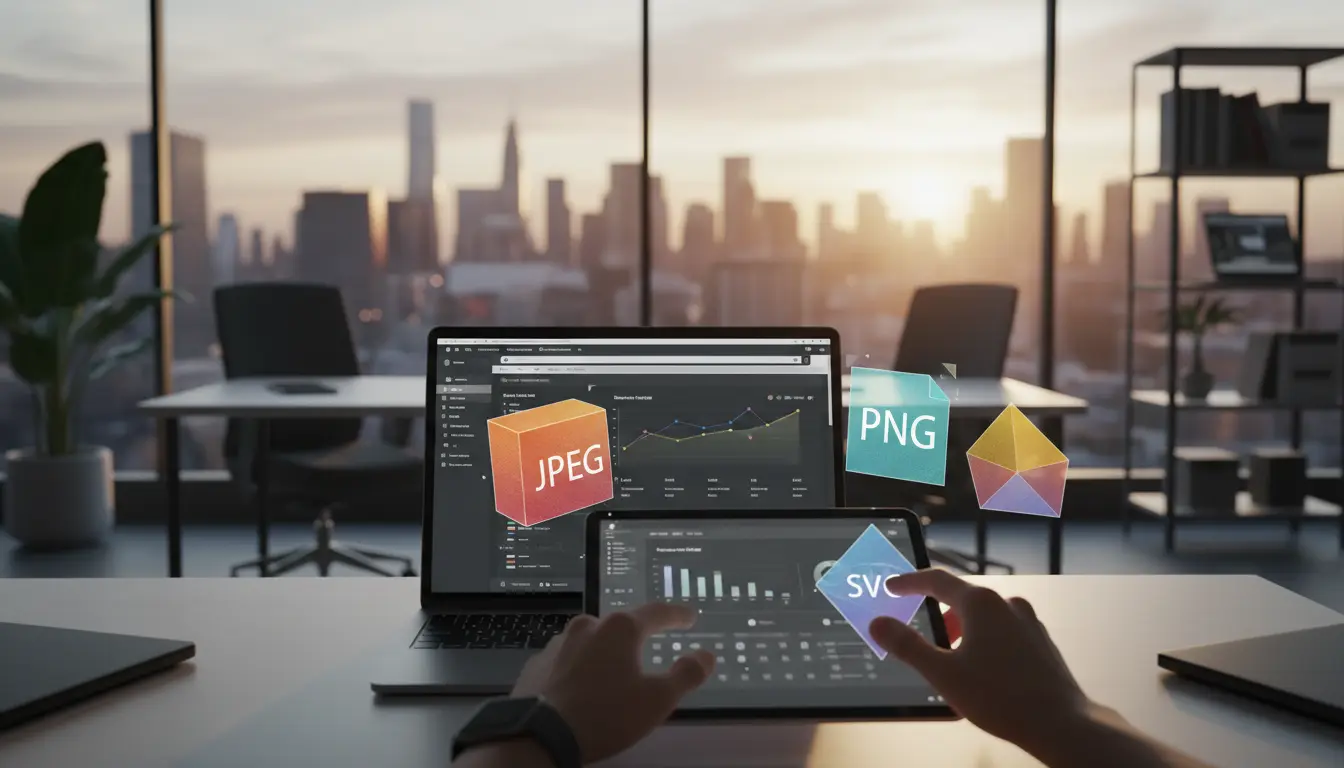
File formats like JPEG, PNG, and WebP each have unique strengths. JPEG excels with photographs using lossy compression. PNG maintains transparency with lossless methods. Modern formats offer better efficiency but require browser compatibility checks.
You'll also encounter raster and vector graphics. Raster files use pixels for photographs. Vector graphics use mathematical formulas for logos and icons. Each type needs different handling approaches.
The true art of file processing lies in finding the perfect balance. You want the smallest possible file size while maintaining acceptable visual quality for your specific use case. This balance varies based on content and audience expectations.
Choosing the Right File Formats and Compression Methods
Your choice of file format is one of the most critical decisions in preparing visuals for the web. Different types serve distinct purposes, and selecting the correct one ensures your pictures look great while loading quickly.
Understanding when to use each format helps you achieve the perfect balance between visual quality and performance. This knowledge directly impacts your site's loading speed and user satisfaction.
JPEG, PNG, and GIF Best Practices
JPEG works best for photographs with complex color gradations. This file type uses lossy compression to create smaller files while maintaining good visual quality.
When exporting JPEGs, choose the "Progressive" option. This lets browsers display a basic version immediately while loading the full-resolution file.
PNG is your go-to format for graphics needing transparency, like logos and icons. It uses lossless compression that preserves sharp edges perfectly.
PNG-24 supports millions of colors with full transparency. PNG-8 works for simpler graphics with limited colors. GIFs remain useful for simple animations despite their 256-color restriction.
Lossy vs. Lossless Compression
The lossy versus lossless distinction is crucial for your compression strategy. Lossy methods discard some data to achieve smaller sizes.
Use lossy compression for photographs where minor quality loss is acceptable. Lossless compression preserves all original data for graphics where precision matters most.
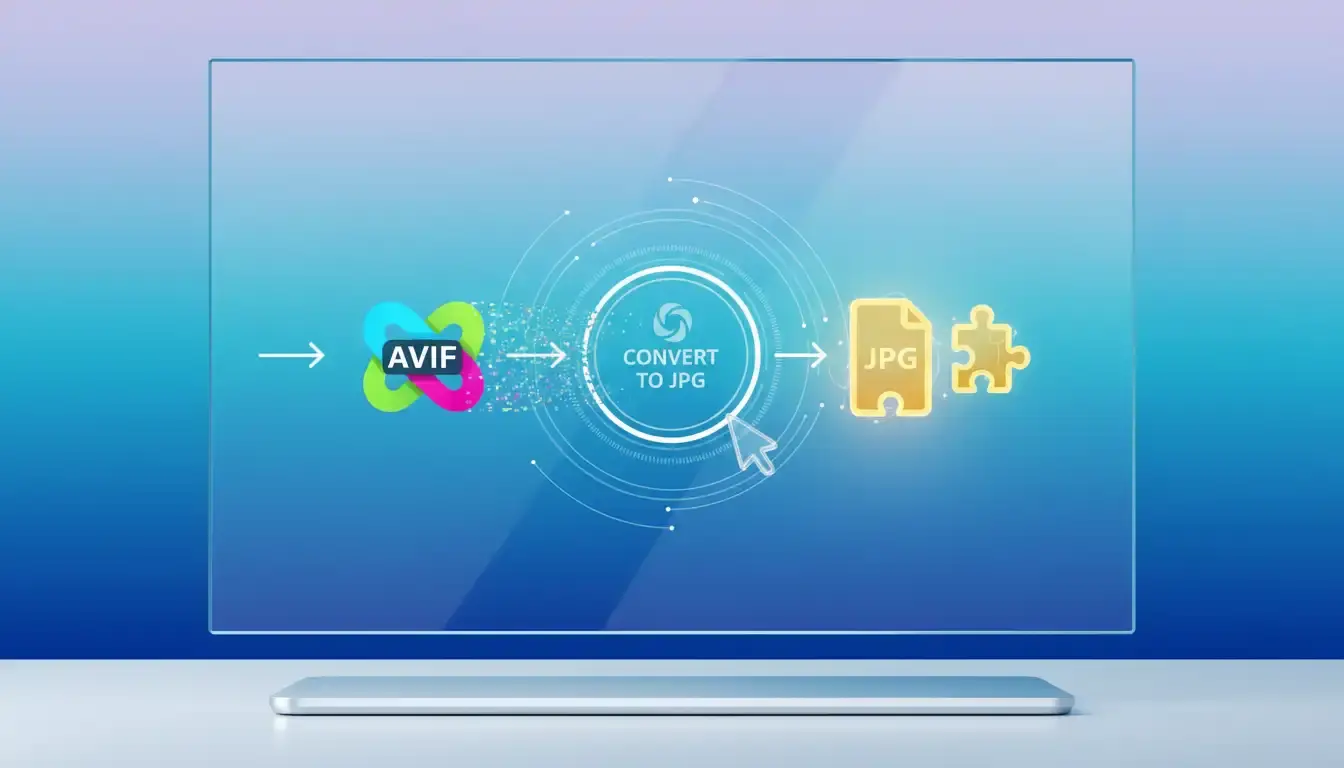
Modern formats like WebP and AVIF offer significant advantages. They provide smaller file sizes while maintaining equivalent visual quality across most browsers.
Benchmarking Your Site Performance and Load Times
Establishing performance benchmarks is crucial before making any visual improvements to your website. You need concrete measurements to track your progress effectively. This baseline data shows exactly where your site stands before optimization begins.
Documenting initial metrics creates a reliable reference point. You'll measure total page weight, load time, and image requests. These numbers help demonstrate tangible improvements later.
Essential Speed Testing Tools
Several excellent tools analyze your website's current performance. Google PageSpeed Insights provides comprehensive mobile and desktop analysis. It identifies specific images needing attention and offers actionable recommendations.
Pingdom Tools tests your site speed from multiple geographic locations. This reveals how users in different regions experience your content. GTMetrix combines data sources to show detailed loading charts.
WebPageTest offers advanced capabilities like video capture of your page loading process. WordPress users benefit from specialized tools like WP Engine's Website Tester. These provide tailored insights for WordPress-specific performance issues.
Run multiple tests to calculate average results for reliable baseline measurements. Network conditions and server load can cause variations between individual tests. Consistent benchmarking ensures accurate performance tracking.
Resizing and Compressing Images for Better Performance
Getting your visual dimensions right before uploading is a fundamental performance step. When your theme displays pictures at 500x500 but you upload 1024x1024 files, those extra pixels increase file size without benefit. Proper resizing eliminates this waste.
Cropping visuals to match your layout requirements reduces file sizes significantly. This simple action helps your site load faster while saving valuable disk space.
Manual Editing with Photo Tools
Professional software like Photoshop gives you precise control when you resize images. Free alternatives like GIMP work equally well for adjusting dimensions. These tools let you crop pictures to exact specifications.
Built-in options like Preview (Mac) or Paint (Windows) offer quick solutions. Browser-based tools like Canva provide simple interfaces for basic editing tasks. Manual resizing ensures perfect preparation for specific layout needs.
Automated Techniques Using Plugins
Compression is the critical next step after resizing. Tools like TinyPNG use smart algorithms to reduce file sizes by 50-80%. They maintain visual quality that's virtually indistinguishable from originals.
ImageOptim removes unnecessary metadata through lossless methods. JPEGmini specializes in photographic content compression. These solutions create smaller files without compromising image quality.
The combination of proper resizing followed by compression yields optimal results. First eliminate unnecessary pixels, then apply compression algorithms. This workflow ensures both performance and visual excellence.
Enhancing SEO through Optimized Alt Text and File Naming
Search engines read more than just your page content - they also analyze how you label your visual assets. Proper naming gives crawlers clear context about what each picture represents.
This textual foundation helps your visuals appear in relevant search results. It bridges the gap between visual content and search engine understanding.
Creating Keyword-Rich File Names
Your file names should reflect how people search for your content. Instead of generic camera names like "IMG_1234.jpg," use descriptive terms.
Analyze your site analytics to identify common search patterns. Structure file names with primary keywords and relevant details separated by hyphens.
For example, "red-running-shoes-women-size-8" tells search engines exactly what the picture shows. This approach provides valuable context without keyword stuffing.
Writing Effective Alt Attributes
Alt text serves multiple important functions on your website. It provides accessibility for screen readers and displays when pictures fail to load.
Write descriptive alt attributes that naturally include relevant keywords. Avoid generic phrases like "picture of" that waste valuable character space.
For product pictures, include specific details like color, model, and distinguishing features. Different angles should have unique descriptions highlighting their perspective.
This balanced approach helps your content rank better while maintaining genuine usefulness for all visitors.
Proven "Image Optimization" Techniques for SEO Success
Real-world testing reveals that proper handling of visual assets can transform your site's loading performance dramatically. A compelling case study demonstrated this power: six uncompressed JPGs over 1 MB each created a 14.7 MB page that loaded in 1.55 seconds. After compression, the same page weighed just 2.9 MB and loaded in 476 ms.
This represents a 54.88% decrease in load time and 80.27% reduction in page size. Few other adjustments deliver such dramatic improvements. Implementing a complete workflow ensures consistent results across your entire website.
Start by choosing correct formats and resizing to appropriate dimensions. Apply compression based on content type—hero pictures may need 80-90% quality, while thumbnails can use 60-70% without noticeable loss. Responsive techniques serve appropriately sized files for each device.
Lazy loading prevents below-the-fold graphics from loading until needed. Progressive JPEGs and the "blur up" technique create immediate visual placeholders. Regular audits using tools like Google PageSpeed Insights help maintain optimal performance.
Testing different settings helps you find the perfect balance for your specific content. A/B comparisons of compression levels and delivery methods ensure you achieve both visual excellence and speed.
Leveraging Advanced Tools and Plugins to Automate Image Optimization
Automation transforms how you handle visual content on your WordPress site. Instead of manually processing every file, specialized tools handle the work for you. This saves significant time and ensures consistent results across your entire media library.
Recommendations for WordPress Users
Several powerful plugins streamline this process. Imagify Image Optimizer offers three compression levels and a one-click restore feature. It processes files on external servers, preventing strain on your hosting environment.
EWWW Image Optimizer Cloud provides unlimited optimization for both new and existing media. This makes it ideal for sites with large libraries. The TinyPNG plugin brings smart lossy compression directly to your dashboard.
For vector graphics, use a tool like SVGOMG to clean and minify SVG files. Evaluating how a plugin operates is crucial. Choose solutions that use API-based processing to avoid slowing down your site.
Kinsta hosting customers benefit from built-in automatic optimization. The platform creates optimized copies and serves them via a CDN. These tools ensure your site maintains speed and performance without manual effort.
Enhancing User Experience with Responsive Images and Lazy Loading
The combination of responsive design and smart loading methods creates seamless user experiences. These techniques work together to deliver the right content at the right time.
WordPress automatically generates multiple sizes for each uploaded file. Browsers use srcset attributes to select the perfect version for each device. This prevents oversized files from slowing down mobile users.
Implementing the "Blur Up" Technique
The blur up method displays a tiny placeholder first. This gives users immediate visual context while the full version loads. It creates the perception of faster load times.
Your visitors see a blurred preview instead of empty spaces. This maintains layout stability and provides instant feedback. The technique works with any visual content on your site.
Best Practices for Lazy Loading
Lazy loading defers off-screen content until users scroll near it. This dramatically reduces initial page weight. Modern browsers support native lazy loading through the loading="lazy" attribute.
Set explicit width and height attributes to prevent layout shifts. Ensure critical above-the-fold visuals load immediately. Test your implementation to confirm it improves performance metrics.
Combine these methods for comprehensive loading strategy. Users get appropriate-sized previews instantly. Below-the-fold content loads only when needed.
Conclusion
Implementing these strategies transforms your site from a technical burden to a performance asset. You now possess the complete toolkit for visual excellence that loads instantly.
The benefits extend across your entire digital presence. Faster loading times improve user satisfaction while boosting search rankings. Reduced bandwidth usage lowers hosting costs significantly.
Remember that proper handling of visual content is an ongoing process. Regular audits using speed testing tools maintain peak performance. New content should receive immediate attention as you create it.
Your next steps are clear: benchmark current metrics, identify priority areas, and implement automated solutions. The balance between visual quality and loading speed defines modern web success.
By mastering these techniques, you create websites that serve both visitors and search engines effectively. The results speak for themselves—better engagement, improved rankings, and superior performance across all devices.
FAQ
What is the main goal of image optimization?
The primary goal is to reduce file sizes without sacrificing visual quality. This process improves your website's load time, which is crucial for both user experience and search engine rankings.
How does file size affect my site's speed?
Larger files take longer to download. When your pages load slowly, visitors are more likely to leave, and search engines like Google may rank your site lower. Smaller file sizes lead to faster performance.
What's the difference between lossy and lossless compression?
Lossy compression permanently removes some data to create a much smaller file. Lossless compression reduces file size without any loss of quality, but the savings are usually smaller. The best choice depends on your need for quality versus speed.
When should I use a JPEG versus a PNG?
Use JPEG for photographs and complex images with many colors. Use PNG for graphics with sharp edges, text, or when you need a transparent background. JPEGs typically have smaller file sizes for photos.
Why is alt text important for SEO?
Alt text describes your media to search engines and users who can't see it. It helps your content rank in image search results and improves accessibility, which is a factor in overall SEO.
What tools can I use to check my site's load time?
Google's PageSpeed Insights and GTmetrix are excellent, free tools. They analyze your site's performance and provide specific recommendations for improvement, including how to better handle your media files.
What is lazy loading and how does it help?
Lazy loading delays the loading of off-screen media until a user scrolls near them. This technique speeds up the initial page load, making your site feel much faster to visitors.